
Post-processing of 3D printed pieces
The misconception that 3D printed parts come ready-made from the 3D printer is gradually disappearing. Often, their surface still feels very rough or the support structures that were needed to print the piece are still hanging on. Post-processing is therefore the distinguishing feature in additive manufacturing (AM) today. Indeed, as the techniques mature, the demands of the end customer also go crescendo.
Post-processing is understood to be a set of techniques that transform an unfinished 3D-printed piece into something workable, presentable and marketable. Some of these techniques find universal application with all AM techniques. Others are very specifically associated with certain 3D printing techniques. But they all have the same goal in mind: to bring the 3D-printed piece to its desired final form.

The importance of post-processing is increasing. After all, 3D printing is increasingly finding application as a manufacturing technique, which also raises the demands for better final quality. 3D printed pieces today look (and feel) better than ever. What exactly is then needed in terms of post-processing depends on the 3D printing technology used and the final destination and end use of the 3D printed pieces.
A clear trend emerging today is the increasing degree of automation. Manual polishing of 3D-printed pieces is not only expensive but, more importantly, provides few guarantees of consistent final quality.
Why?
Post-processing can be done for aesthetic or functional reasons. If only a rough prototype is needed, there may be no post-processing involved, but almost all pieces that come out of the 3D printer do need some kind of post-processing. We list the main reasons:
- Strength: brittle pieces can be hardened.
- Water or UV resistance: glazing pieces make them less porous and more resistant to water and UV light.
- Tolerances: for critical pieces, precisely guided and controlled post-processing techniques ensure desired results.
- Thermal stability: heat treatment can increase heat resistance and thus mechanical reliability.
- Less friction: polishing and other finishing techniques improve the smoothness of pieces, improving interaction with other pieces.
- Smoother appearance: surface treatment techniques reduce roughness.
- Softer touch: glazing the pieces makes them softer to touch, which can be an important criterion for consumers.
- Controlled gloss: post-processing allows the gloss of a piece to be accurately determined.
- Removal of production markings: surface treatment, finally, also serves to ensure that lines are no longer visible.
Removal of support structures and cleaning
3D printers are praised for the freedom of design they offer to bring extremely complex shapes to the beach. In some cases, these will require support structures during the printing process, which prevent the piece from collapsing while it has not yet taken its full shape. These, of course, must be removed after 3D printing. By simply breaking them off (manually or with pliers), which is often the case when they are made of the same material as the 3D printed piece. Other support structures are made of a particular material that can later be dissolved in a liquid for a faster and more beautiful result.

Print powder removal
A lot of the most commonly used 3D printing techniques use powder as the basic raw material. When the piece is finished, there is often a powdery residue left on the surface that must be removed. While this can be done manually by sweeping or vacuuming, it is faster, more efficient and safer to use a custom machine for this purpose, especially as the production scale increases. There are several techniques for this, ranging from compressed air, water and abrasives to rotating and vibrating the pieces to speed up the "de-powdering.
Washing 3D printed parts
Processes that use resins, such as SLA, can leave behind a sticky substance. These resins must come off before other post-processing techniques can follow or before the 3D printed pieces can be tested or delivered. This can be done by manually soaking them in a solvent (e.g., isopropanol), but there are also machines that can do this in a programmed and controlled manner.
The 3D printed piece might need to be gently shaken in the solvent bath or go through a sequence of bands.
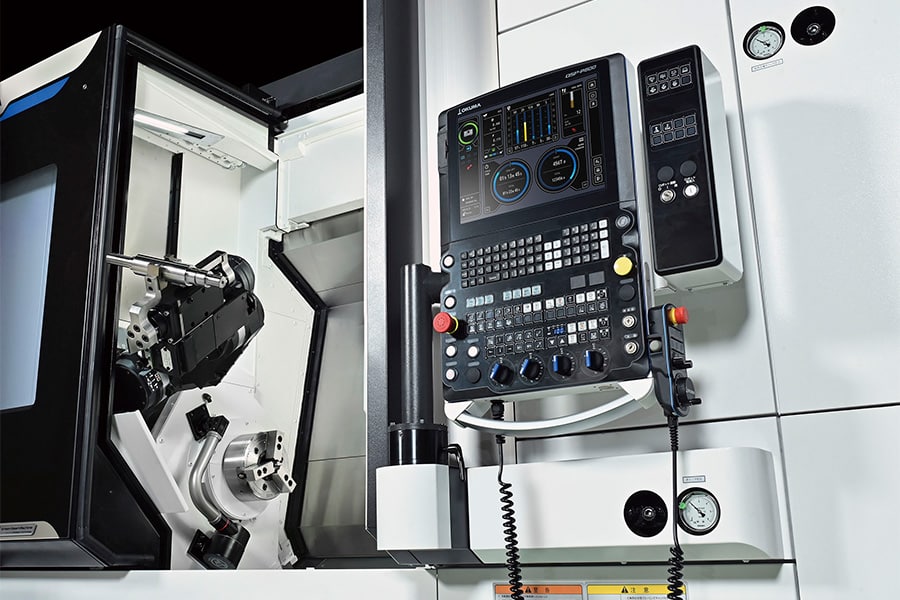
Heat treatment: tempering, hardening, sintering
Most 3D printed pieces undergo another heat treatment. This promotes the fusion of the 3D printed layers and provides the desired mechanical properties in the metal. Under certain circumstances, this can also serve to remove unwanted contaminations, such as an oxide film. This can be done already in the 3D printer, but stand-alone machines also exist. Curing applies especially to 3D printed parts made from resins and is done under UV lamps. Metals and ceramics are often still sintered to sinter any metal particles together to strengthen the pieces.

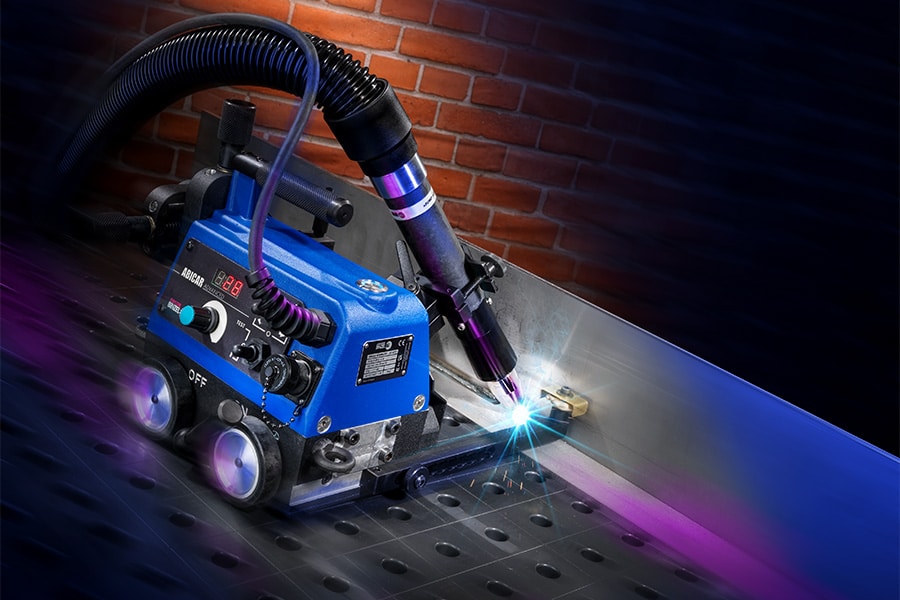
Surface finish
Of course, 3D printing companies still go to work with sandpaper to finish their pieces, but increasingly machines are being opted for so that quality becomes consistent. To make 3D printed pieces smoother ("smoothing"), a mechanical approach or a chemical one can be chosen. It serves to eliminate any visible lines between layers, an unwanted side effect that can occur even when 3D printing at high resolution. Both are methods that take away some material to get the desired surface roughness.
Mechanical vitrification is done with different blast media, according to the raw materials used. Blasting or vibrating can be used. These are automated well-controllable processes. Chemical smoothing is mostly seen with FDM printing techniques, but it can still sometimes lack accuracy.
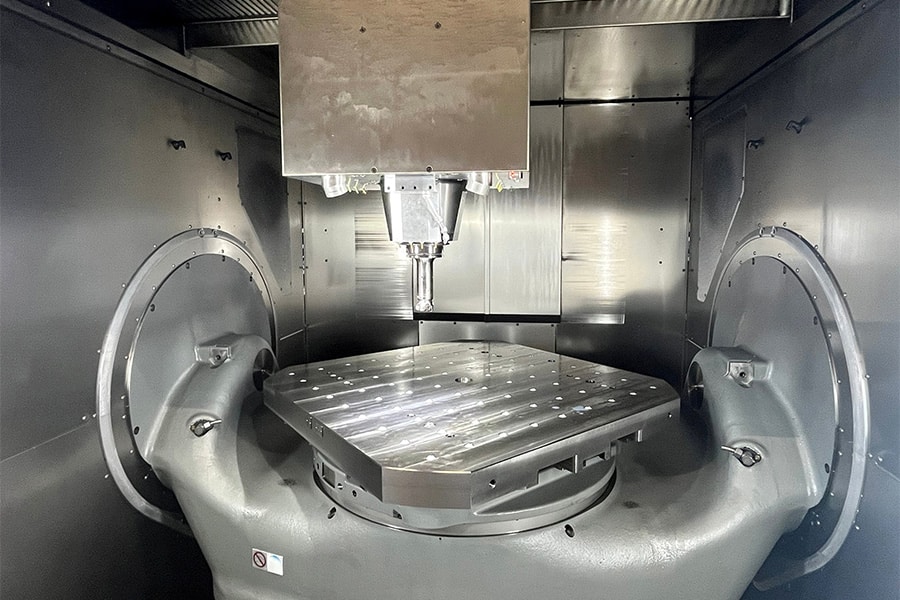
Inspection of 3D printed pieces
The final step in post-processing is the inspection of the delivered work. A visual inspection can obviously tell us something, but more and more use is being made of techniques that also serve to attest quality in classic machining processes. With a CMM measuring machine, for example, the dimensions of a 3D-printed piece can be mapped just as well.
An alternative is the use of 3D metrology scanners, where the speed is even slightly higher. Using robotic arms and adequate 3D software, this process can also be automated.
Contact gegevens
Louwers Mediagroep
Schatbeurderlaan 6
6002 ED Weert
Social
Vragen? Neem dan direct contact met ons op
Contact © 1987 - 2025 Louwers Media Group.